If you’re a fan of the hit TV series “Breaking Bad” and have a sweet tooth that craves a little adventure, we’ve got just the recipe for you.
Just keep in mind that cooking candy is a science, not an art.
Get ready to channel your inner Heisenberg as we dive into the world of Breaking Bad Crystal Candy.
Inspired by the iconic blue methamphetamine featured in the show, this unique and eye-catching confectionery is sure to captivate your taste buds and unleash your culinary creativity.
In this article, we’ll guide you through the step-by-step process of creating your own crystal candy, taking your candy-making skills to new heights.
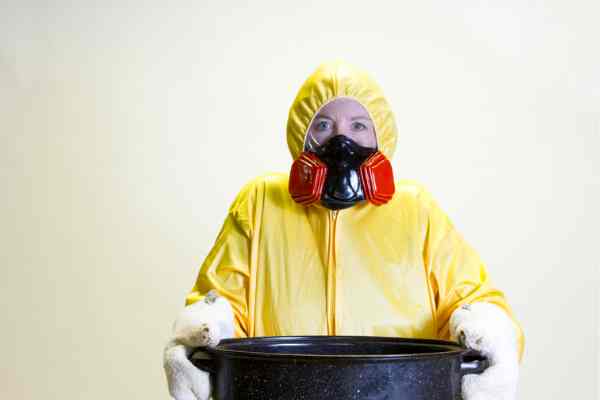
So put on your hazmat suit and let’s get cooking!
Ingredients
- Candy thermometer
- 2 cups granulated sugar
- 3/4 cup light corn syrup
- 1/2 cup water
- Blue gel food coloring (Americolor Sky Blue)
- 1 tsp flavoring (We suggest clear LorAnn’s flavoring oils)
Why You Must Use a Candy Thermometer
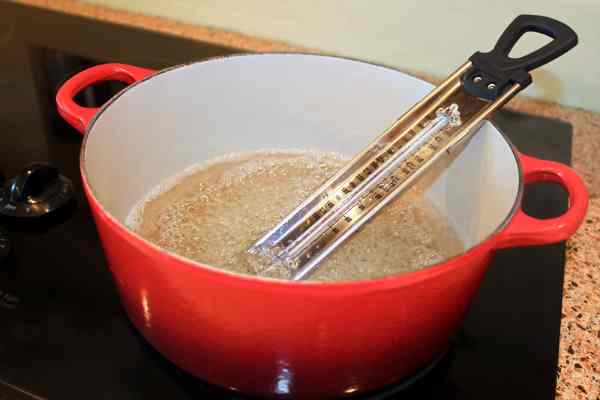
Using a candy thermometer might seem like an extra step in your candy-making adventure, but trust us, it’s a game-changer. If you want a good product, you need the right tools!
Here’s the deal: candy-making is all about precision, and a candy thermometer is your secret weapon to achieving the perfect consistency and texture.
It takes the guesswork out of the equation and ensures that your sugar concoctions reach the exact temperature needed for success. Whether you’re aiming for soft caramels or in this case, hard crack stage, this nifty gadget is your best friend in the kitchen. So, don’t skip the thermometer—it’s the key to candy-making mastery!
The Cooking Process
- Line a baking sheet with foil and spray with nonstick cooking spray.
- In a saucepot, combine 1/2 cup of water, 2 cups of sugar, and 3/4 cup light corn syrup.
- Over medium heat, stir until sugar fully dissolves.
- Turn up the heat; bring to a boil. Stop stirring until the mixture reaches 300°F.
- Use a wet pastry brush to wipe down sugar crystals that show on the outer edges of the pot. Continue cooking without stirring.
- Once thermometer reads ~300°F, take the pot off heat. Let cool. Mixture should be a slight yellow color at this point.
- At about 250°F (or once the bubbling stops), add the flavoring, and food coloring then stir evenly.
- Pour the mixture onto the foil-lined baking sheet. Let cool to room temperature.
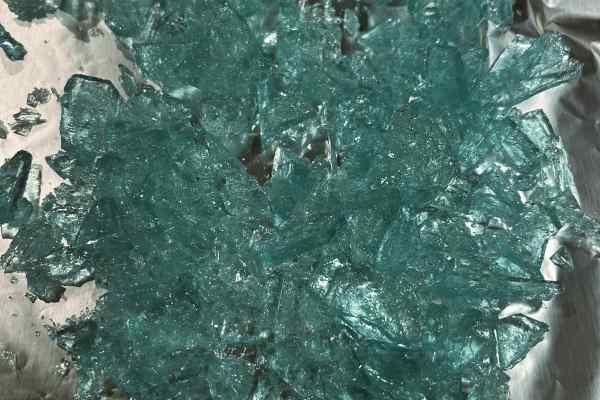
- Using a mallet or blunt object, smash the candy to bits!
Common Mistakes

Not removing from heat in time. Once the temperature rises too high, the sugar will begin to caramelize and brown. Depending on how your pot handles heat, you might have to remove it from the heat a little early.
Excessive stirring once mixture starts boiling. We get it, stirring is an instinctive response, but trust us on this one—just let it be. When your mixture boils, it’s undergoing a crucial chemical transformation, and any agitation can introduce unwanted crystallization or cause the sugar to seize up.
Forgetting that the sugar mixture is hot. Keep in mind that hot sugar is no joke—it can cause serious burns if mishandled. The sugar syrup reaches extremely high temperatures, and even a small accidental spill can lead to painful consequences. So, take extra precautions while working with hot sugar. Use heat-resistant gloves, long-handled utensils, and a sturdy apron to protect yourself from potential splatters.
Candy ends up sticky and/or soft. This is usually caused by not cooking the candy enough. If you used a thermometer, make sure it is calibrated by testing in boiling water. It should read 212°F or 100°C.
If the candy sets fine at first but becomes sticky later, humidity could be a potential cause. For more information, view this article.
How To Make Breaking Bad Crystal Candy "Crystal Meth" | CandyTurf
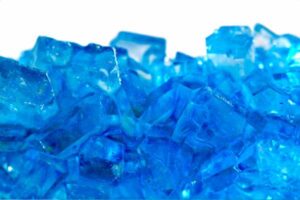
If you’re a fan of the hit TV series “Breaking Bad” and have a sweet tooth that craves a little adventure, we’ve got just the recipe for you.
Type: dessert
Keywords: crystal, glass, crack
Preparation Time: PT30M
Cooking Time: PT30M
Total Time: PT1H
Recipe Ingredients:
- 2 cups granulated sugar
- 3/4 cup light corn syrup
- 1/2 cup water
- 1 tsp flavoring oil
- Few drops blue gel food coloring
Recipe Instructions:
The Cook:
- Line a baking sheet with foil and lightly spray with nonstick cooking spray.
- In a saucepot, combine 1/2 cup of water, 2 cups of sugar, and 3/4 cup light corn syrup.
- Over medium heat, stir until sugar fully dissolves.
- Turn up the heat; bring to a boil. Stop stirring until the mixture reaches 300°F.
- Use a wet pastry brush to wipe down sugar crystals that show on the outer edges of the pot. Continue cooking without stirring.
- Before the thermometer reads ~300°F, take the pot off heat. Let cool. Mixture should be a slight yellow color at this point.
- At about 250°F, add the flavoring, and food coloring then stir evenly.
- Pour the mixture onto the foil-lined baking sheet. Allow candy to cool and harden at room temperature.
- Using a mallet or blunt object, smash the candy to bits!
4.49

