Candy is a sweet treat that many people enjoy. But when hard candy becomes sticky, it can be frustrating and difficult to eat. In this post, we will discuss the reasons why hard candy becomes sticky and how you can remedy sticky hard candy in different ways.
Moisture and humidity are the enemies of hard candy, causing undesirable excess stickiness.
One quick way to stop hard candy from becoming sticky is by using a light coating of corn starch or powdered sugar. If every piece of your hard candy seems to become sticky, then there may be too much humidity in the air when cooking the candy.
Why does hard candy become sticky?
Excess moisture and high humidity are the two most common reasons for sticky hard candy. The cooking temperature of hard crack candy is around 300°F (better to go slightly over) so most of the moisture and water should be boiled out of the sugar/corn syrup mixture.
This is especially true for hard candies that include ingredients with high water content. For example, using freshly squeezed juices in your hard candy recipe can cause the candy to have a sticky outer layer. One way to reduce that water amount is to use ground-up freeze-dried fruits instead.
5 Ways to Reduce Hard Candy Stickiness
1. Ensure correct cooking temperatures
When making hard candy, the hard crack stage is around 300°F (~149°C) give or take a few degrees based on the humidity of your cooking area. If the humidity is high, raise the cooking temperature by a few degrees to compensate.
Many candy makers use a thermometer while cooking candies in order to ensure they’re at the correct temperature, making sure their hard candy doesn’t become sticky. Make sure to calibrate your candy thermometer by boiling water and taking a reading of 212°F(100°C), especially with new thermometers.
Make sure the tip of the thermometer is not touching the bottom of the pot. This can throw off the temperature readings of a working thermometer. Most candy thermometers come with a clip that can attach to the side of the pot. Probe-styled thermometers work fine as well, but make sure to follow the same guideline.
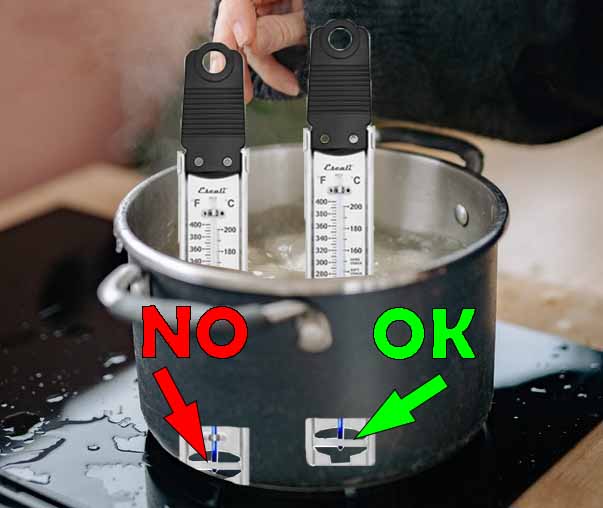
If your hard candy is still coming out sticky, check your cooking temperatures with another thermometer. Some poorly-made thermometers can be off by over 10 degrees! Make sure your current thermometer is calibrated by boiling some water and checking the temperature around 212°F.
2. Use cornstarch or powdered sugar
Sometimes you’ll just have a batch that will become sticky even if stored in an air-sealed container.
If the candies haven’t already completely fused together, dust them with a light coating of cornstarch and lightly mix them.
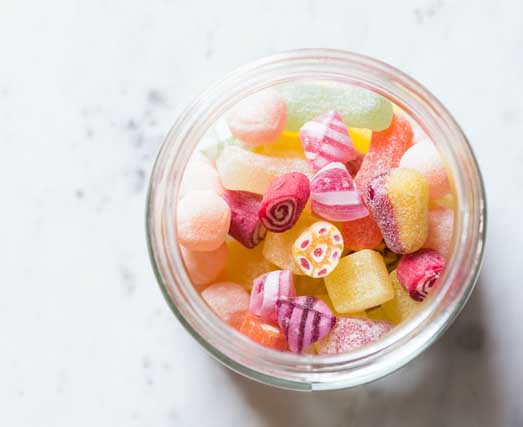
Corn starch is perfect for coating candies because it is very fine and tasteless. This helps apply a thin layer of coating and does not affect the flavor of the candy.
Powdered sugar (AKA icing sugar) is granulated white sugar that has been finely grounded with a small amount of anti-caking agent, usually corn starch or potato starch.
In my experience, corn starch is more effective than powdered sugar for preventing stickiness.
I would only use powdered sugar for candies that end up tasting a little bland or under-sweet. Don’t apply the powdered sugar while the candy is still hot otherwise it will end up sticky anyways. Make sure your candy has cooled down to the touch.
As a crutch, you could always use normal granulated sugar as a coating. It will give the candy an added sweet crunch so be careful about adding too much!
If you are handling the candies with your hands, make sure they are dry (if for some reason you don’t have access to gloves). You could also lightly dust your hands in powdered sugar before handling your candies.
If every piece still becomes sticky, humidity when cooking candy may have been too high. The best thing to do is to wait for a dry day or use a dehumidifier. I find that turning on a range hood while cooking can sometimes help with excess humidity in the kitchen area.
3. Individually wrap the pieces of candy
This is most effective for humid environments that would otherwise cause your hard candies to become sticky at room temperature.
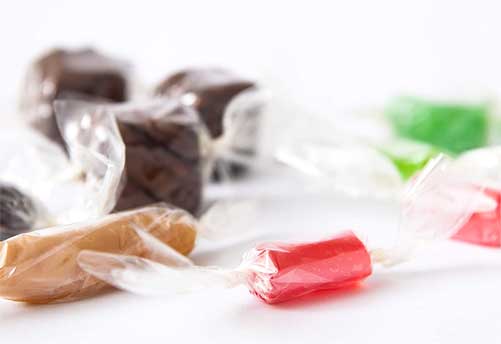
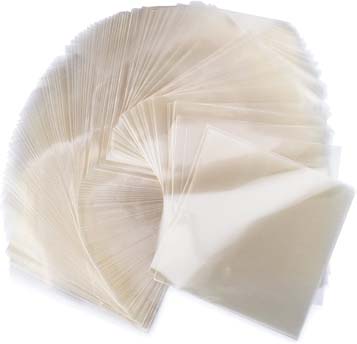
Adding individual wrapping on top of coating the candies is an almost surefire way to keep your hard candies hard and not sticky.
However, this is a tedious process so I would only do it for candies you are selling or gifting. For softer candies such as taffy or nougats, it is even more important to wrap them as they are very hygroscopic (absorbs moisture from the air).
4. Use air-tight storage (preferably glass containers)
It is important to store your hard candies as soon as possible after they have cooled down. The longer candies are left out, the more chances environmental moisture and humidity will seep back into the candy.
I find that glass mason jars (such as these) are best for storing candies. This way, the candy stays fresh for as long as possible and you can see what is inside each jar.
Really any non-porous container with an airtight lid will help preserve the candies against environmental moisture.
If you plan to use plastic containers, I would definitely still use a light coating of cornstarch. Plastic is more porous compared to glass and therefore exposes the candy to humidity.
For some reason, sticky hard candy and plastic are the worst combinations. If they stick together, it sometimes feels like it’s glued together! It’s like a Jolly Rancher that has been sitting in the heat for too long.

You could also add dry rice or food-grade silica gel packets to the containers if the candies are still getting soft or sticky. Ideally, this is after individually wrapping the candies so they won’t stick. This will help combat any extra moisture left in the container or within the candies.
5. Cook the candy faster rather than slow
Sometimes you do everything right, cook to 300°F (slightly over is ok), and wait for the sugar to cool before adding flavorings.
Yet the candy, while hard, still ends up sticking to the teeth!
It is important to heat up the candy fast! The key is to boil out the water.
The longer it cooks, the more chances the sugar goes through a different browning chemical reaction called the Maillard reaction. This reaction is the same reaction used to sear steaks, fry dumplings, or toasting marshmallows.
Around 280°F to 330°F is when you begin to see forms of this reaction. This is getting close to the temperature range of the caramelization of sugar.
While heating your hard candy sugar solution, if you notice the temperature stalling around 220°F, lower the amount of water used next time. Keeping every other portion of ingredients the same, lower the water content by 10-20%. This should help combat any stickiness that remains in the candy after cooling.
What Affects Shelf Life of Hard Candy?
Water content, pH, fat content, and environmental factors. These environmental factors include temperature, humidity, and amount of contact with oxygen.
Low water content is a must for a long shelf life with hard candies. Higher amounts of moisture allow the potential growth of bacteria and mold. This is why caramels and hard candies typically have a longer shelf life than say fudge or creams.
Ideally, the best temperature to store confections is just under 70°F. However, cool and dry storage conditions are enough to maintain long shelf life.
Related Questions
Why does hard candy burn before reaching 300°F?
Is your thermometer calibrated? To be sure, boil some water and make sure it reads 212°F (100°C).
What kind of pot/pan are you using? Move your thermometer around as you approach the hard crack stage. Is there any significant variation in temperatures? Not all pots distribute heat evenly and this could result in some portions of sugar heating up faster than others. Copper bottom pans are best for making candy.
Are you using cane sugar? While beet and cane sugar are interchangeable in baking, it is different for candy-making. Most hard candy recipes will assume you are using cane sugar. Make sure to double-check that the sugar you bought is not beet sugar.
When are you adding flavorings/dyes? Make sure you are not adding any flavoring, coloring, or citric acid until after the sugar solution starts to cool down. It is suggested to wait until the sugar has cooled down past 260°F before adding flavoring or citric acid.
With most flavorings and dyes, you do not have to wait as long to add them. The main culprit of burnt-tasting sour hard candy is adding citric acid too early.
Any tips for making hard candy in high-humidity areas?
I have found great success with using LorAnn’s Hi-Sweet Powdered Corn Syrup in humid conditions.
This powdered version of corn syrup is quite moisture-resistant while boiling sugar.
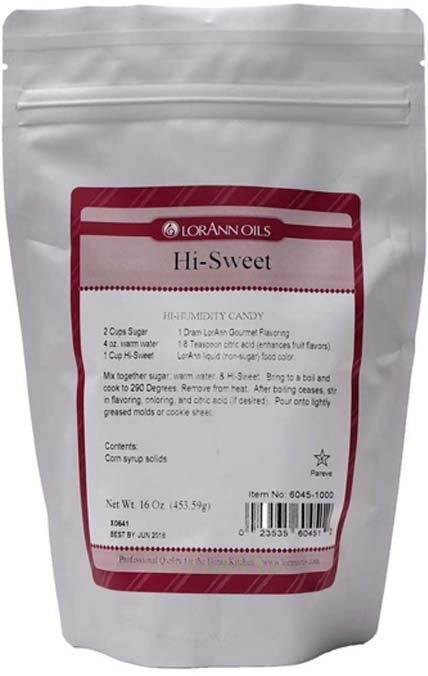
Check the price of a 16 oz bag of Hi-Sweet here! One reviewer says that their lollipops lasted for 9 months after making them before any signs of melting.
The ratio calls for 2 cups of sugar, 1/2 cup of water, and 1 cup of the Hi-Sweet powder. After boiling has finished, add in your flavoring, dyes, and citric acid (for sour candies).
How to clean burnt sugar inside of a pan?
- Bring water to a boil (either separately in a kettle or inside of the pan itself)
- Let it simmer for 3-6 minutes
- Pour out the boiling water
- Repeat until the sugar is broken down and dissolved enough to brush off

