I absolutely adore caramel apples! The crispness, tanginess, and juiciness of a fresh apple blend with a decadent, velvety, savory-sweet caramel is simply divine. It’s an absolute treat that must be savored with care (as they are tricky to eat).
As the fall season approaches, there’s nothing quite like the smell of freshly made caramel apples.
If you plan to make caramel or candy apples that won’t be eaten immediately within an hour, it’s important to know how to store them properly to keep them fresh and delicious.
In this article, we’ll share some tips on how to store freshly made caramel apples to ensure they stay fresh and delicious for as long as possible.
Remove Wax From Apple
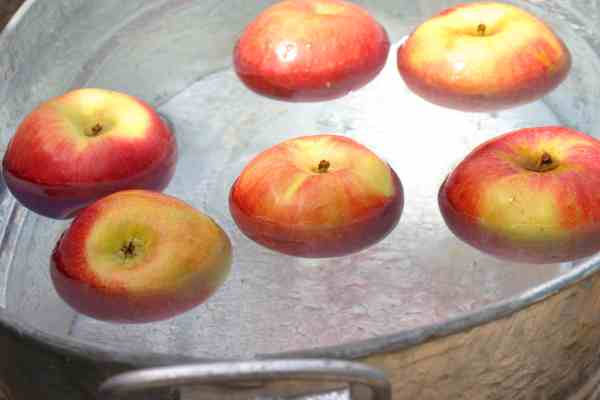
To make sure your caramel apples store perfectly, start by washing your apples and removing any wax residue. This helps keep the caramel from “sliding” off, making a pool of caramel at the bottom.

So how do you remove wax from an apple?
To remove the wax, dip and swirl your apple in very warm water (not boiling) for about 10 seconds, then dry it with a clean cloth until the shine or gloss disappears. The apple will appear dull.
If you’ve already made your apples with waxed fruit, don’t worry, but be aware that the caramel may not stick as well during storage. You may notice the caramel sliding off the apple more if you don’t remove the wax.
Cool the Apples Completely Before Storing

One of the most important things to remember when storing freshly made caramel apples is to let them cool completely (to room temperature) before storing them.
If you try to store them while they are still warm and setting, moisture can condense on the surface of the apples. This results in a sticky caramel apple that sometimes becomes mushy.
To avoid this, let the caramel apples cool completely at room temperature before storing them. I find letting them sit on parchment paper or a silicone baking mat is the best way to do this.
Wrap the Apples in Plastic Wrap

Once the caramel apples have cooled completely, wrap them tightly in cellophane. This will help to prevent air from getting in and drying out the caramel, which can cause it to become sticky or grainy.
If you’re keeping the apples in the fridge, wrapping them also helps keep moisture away from the caramel coating.
Be sure to wrap each apple individually to prevent them from sticking together.
Store the Apples in the Refrigerator
To keep your freshly made caramel apples fresh and delicious for as long as possible, store them in the refrigerator. This will help to slow down the natural ripening process of the apples, which can cause them to become soft and mushy.
Keeping the apple fresh and crisp is a big part of a good caramel apple.
Be sure to store them in an airtight container to prevent moisture from getting in and spoiling the apples. Also, make sure the apples aren’t directly touching each other or the coating will stick together.
How Long Can Caramel Apples Be Stored In the Fridge?
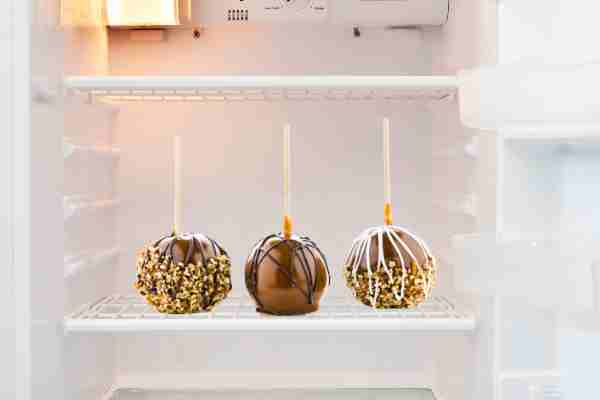
Any longer than 2 weeks will result in the apple tasting worse or getting mushy.
Keep in mind that even when stored correctly, caramel apples are a perishable item, so always check for any signs of spoilage before eating.
If you notice any mold or discoloration, it’s best to discard the apple to avoid any potential health risks.
Store Apples For Up to a Week
Freshly made caramel apples will typically keep its taste and texture for a week when stored properly in the refrigerator.
After this time, the apples may start to become soft and the caramel may begin to lose its flavor. Often times, the caramel also becomes hard or grainy.
Can You Freeze Caramel Apples?
On a personal note, I wouldn’t freeze caramel apples.
The best way to store your caramel apples is in the refrigerator. They’ll stay fresh for a lot longer. Freezing them is more of a last resort as the quality of taste and texture will go down.
If you absolutely have to freeze them, make sure you seal them up tight in an airtight container or a ziplock bag.
If you have to store your caramel apples for longer than a week, consider freezing them. To do this, wrap each apple individually in plastic wrap, then place them in an airtight container or freezer bag.
When you’re ready to enjoy them, simply thaw them in the refrigerator overnight before serving.


![Top 9 Sweetest Candies in the World [Ranked]](https://candyturf.com/wp-content/uploads/2022/10/top-sweetest-candies-in-the-world.jpg)